
October 24, 2013 12:25 by
 andry
andryC# ("C sharp")is HTML webpage file used by Razor, an ASP.NET view engine used for generating Web pages for a user's Web browser; similar to a standard ASP.NET webpage (.ASP or .ASPX file), but uses a slightly different syntax; runs on a Web server, which generates the HTML for the client Web browser; can be programmed with syntax highlighting.
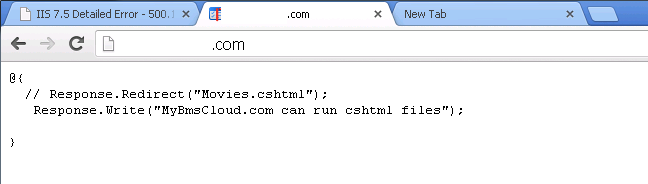
If we build a website that contains .cshtml file, we must enable .cshtml file. At the below, there is an error message if we don’t enable .cshml file.
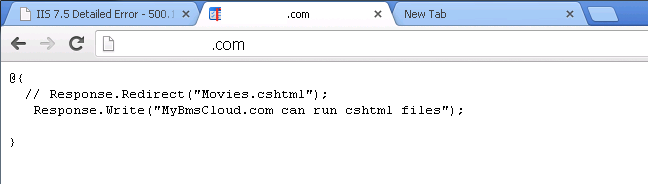
To enable .cshtml file on windows Server 2012, There are steps to solve that problem. Open your IIS.
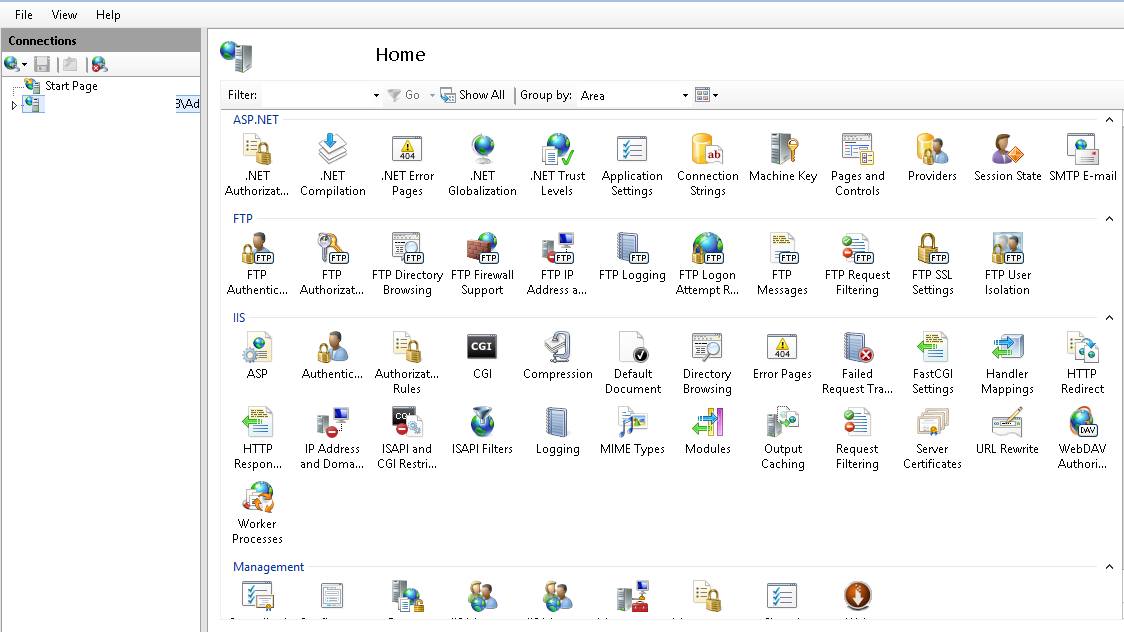
Expand “server”-> “sites” and choose “domain”. Then click on Handler Mapping.
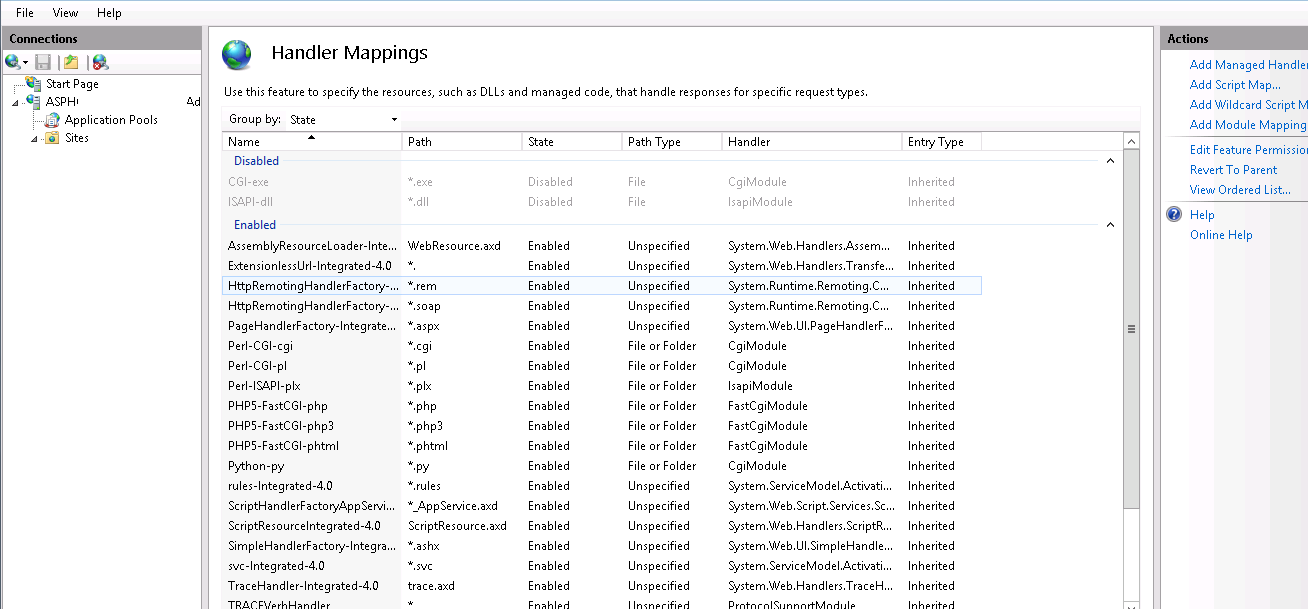
You can't find .cshtml. After that, choose “Revert to Parent” on right tab.
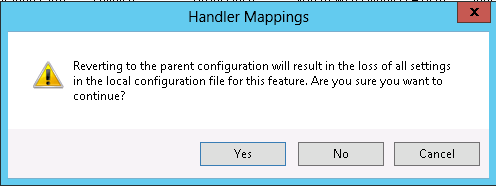
Select "Yes" and Look,what the difference with the previous image.
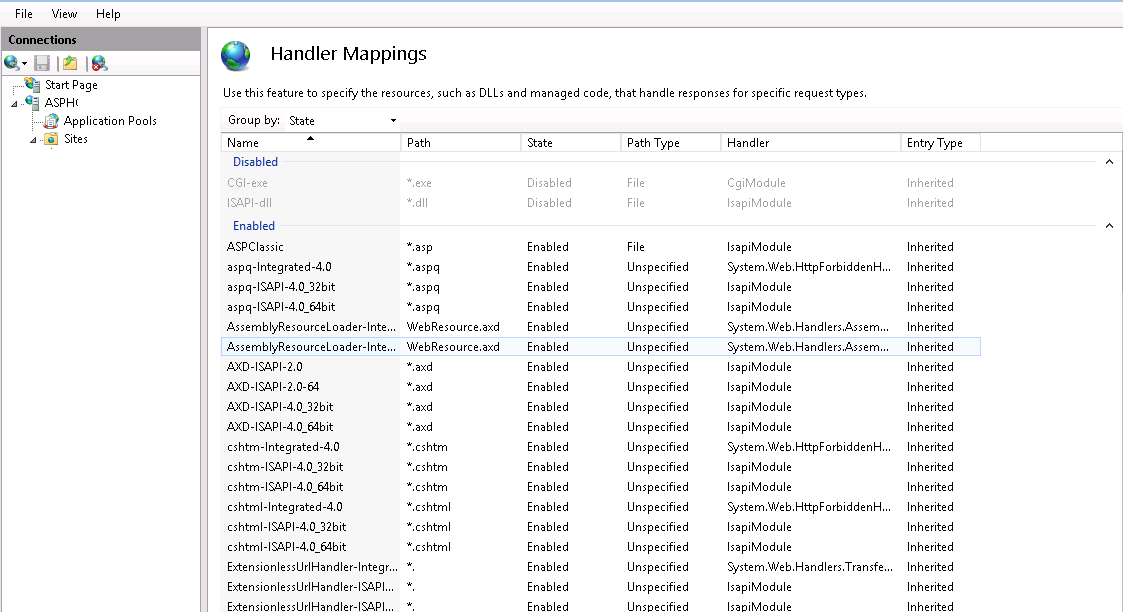
.cshtml file are enable and available. Now browse the domain. If you still can not access and have an error. You should check the .NET version. Remember that .Cshtml file can only be run on .NET version 4 and above.
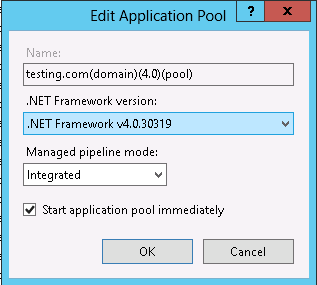
To check the .Net version, select "application pools" -> right click on "domain_name" -> "Basic settings" -> choose .Net 4 version -> "Ok".
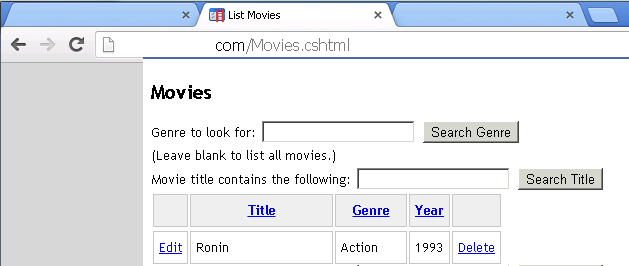
Now you can browse your domain with .cshtml file. Here is screenshot.
October 23, 2013 08:41 by
andry
There are many way to create a website, one of them is creating a website using WebMatrix. To install WebMatrix on your local computer, you need mysql and mysql connector installer. Please install all on your local computer. This is very important if you later install a web application that uses mysql database e.g wordpress. After you install mysql, please configure your mysql password root.if wrongly configure, then the error will appear as below.
After configuring mysql, then install WebMatrix on your local computer. Below is a screenshot of WebMatrix after install.
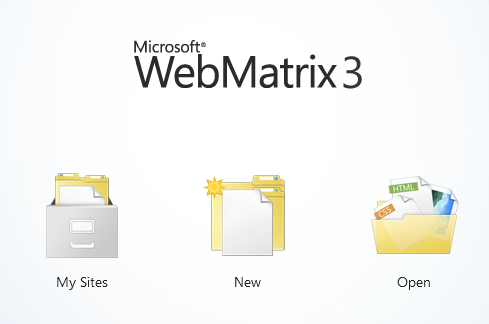
To install WordPress using WebMatrix, choose "New" -> "App Gallery" -> choose "wordpress icon" and "next" -> "I accept". Wait for installing wordpress. If wordpress have successfully installed, will appear like this.
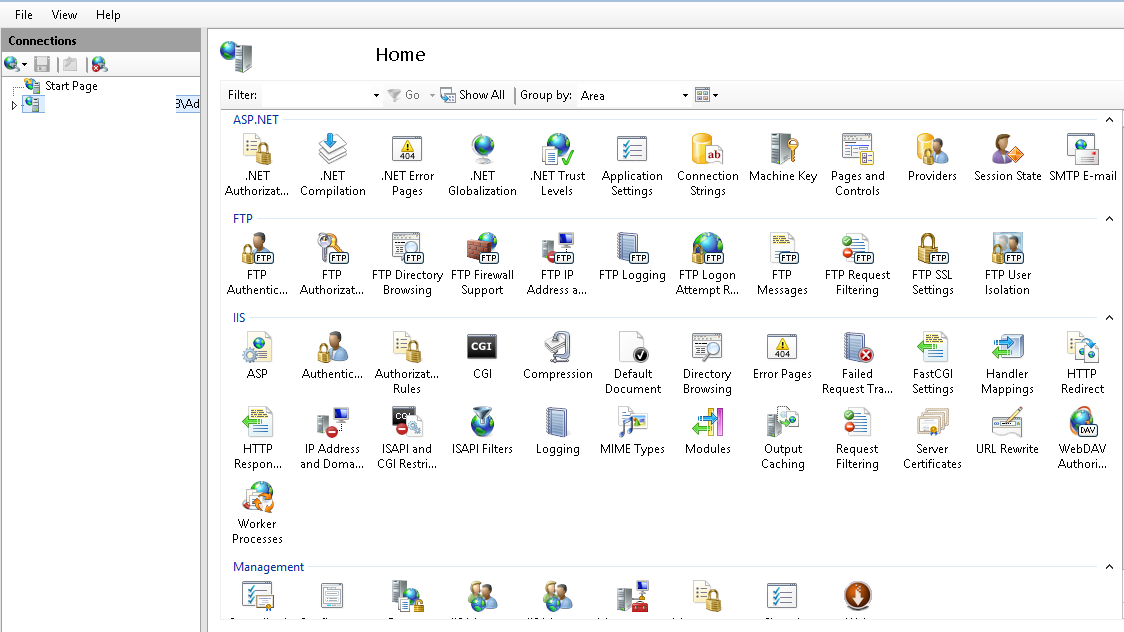
Click “Ok”. And wordpress successfully installed on your local computer. Now we will publish wordpress to the server. Here is how to publish wordpress.
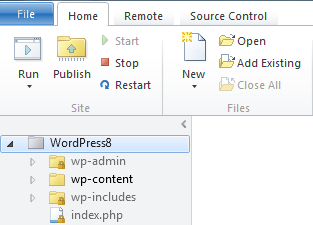
Go to “remote”-> “settings” -> “enter settings”. Fill in the following details.
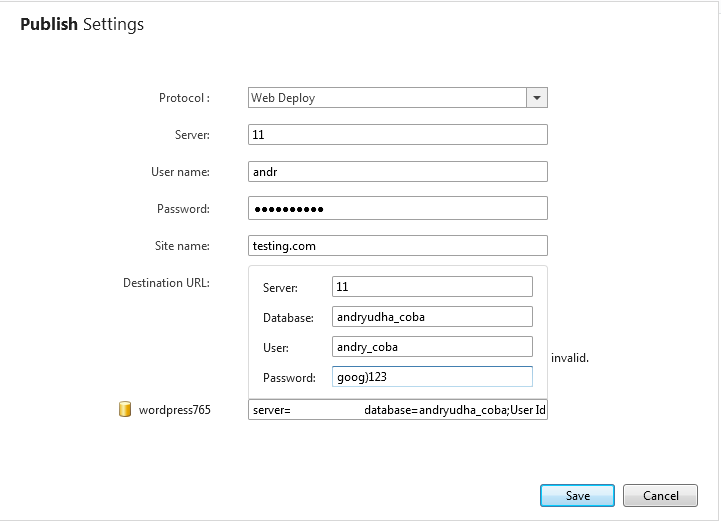
After the validation test connection. If successful you will see "connected succesfully". Click on “Save”. To publish it on the server, On the menu bar, select “Publish” -> On ” Publish compatibility” window, choose "continue" -> "continue" -> on “publish preview” window, tick "delete files on a remote server" and choose "continue" again and let the process run as shown below .

If it appears like this means successful.

Please visit the website and wordpress already active.